BEAT TO YOUR OWN DRUM 'ALPINE STEREO INSTALL'
In my introductory post for this project, you might’ve seen the hacked up radio bezel, kick panels and rear package tray areas that may or may not have resembled several shark bites. Once upon a time it looked like the previous owner tried installing a stereo system, and failed miserably. Sadly, Trent got stuck with the leftovers, but would take on the challenge.

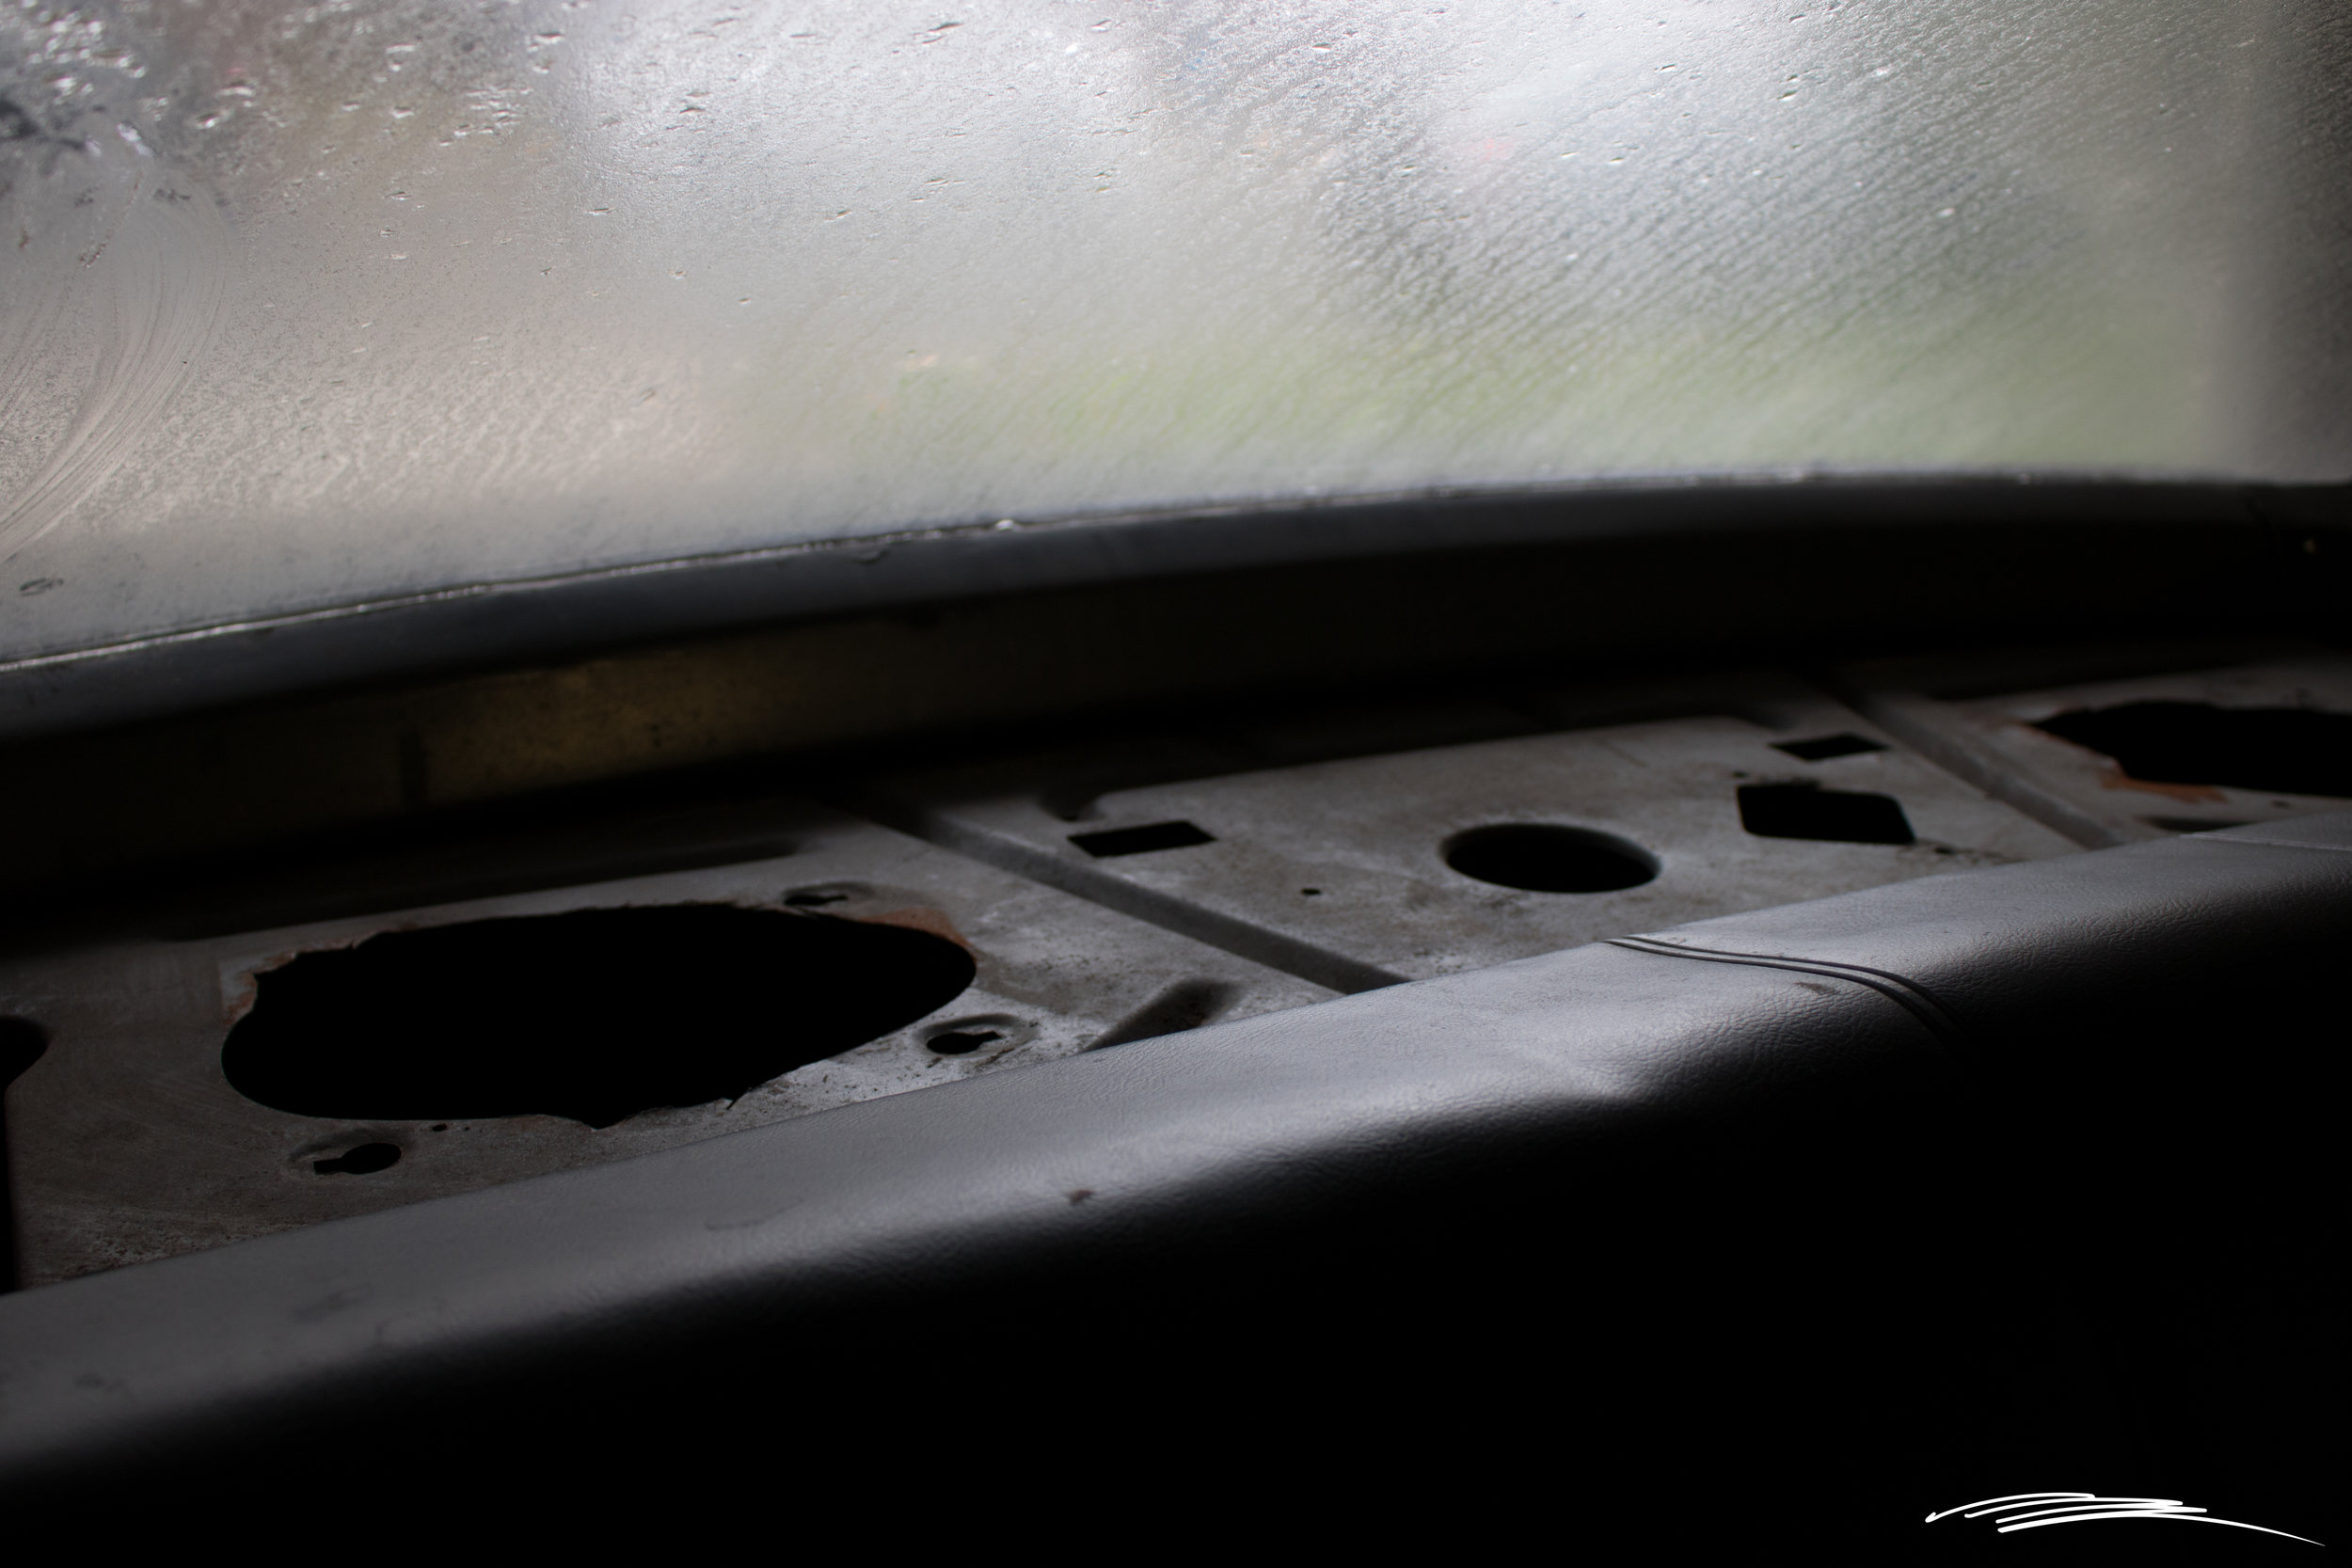

Monday: 10/29/18 As I approached the rear of the car after pulling up to Trent’s, it was hard to miss the (2) Alpine SPR-69C 6x9” speakers mounted in the rear package tray. This might look like they were mounted from the top, but they were in fact mounted from underneath and will not be utilizing the covers they came with. A package tray cover will be their protection.


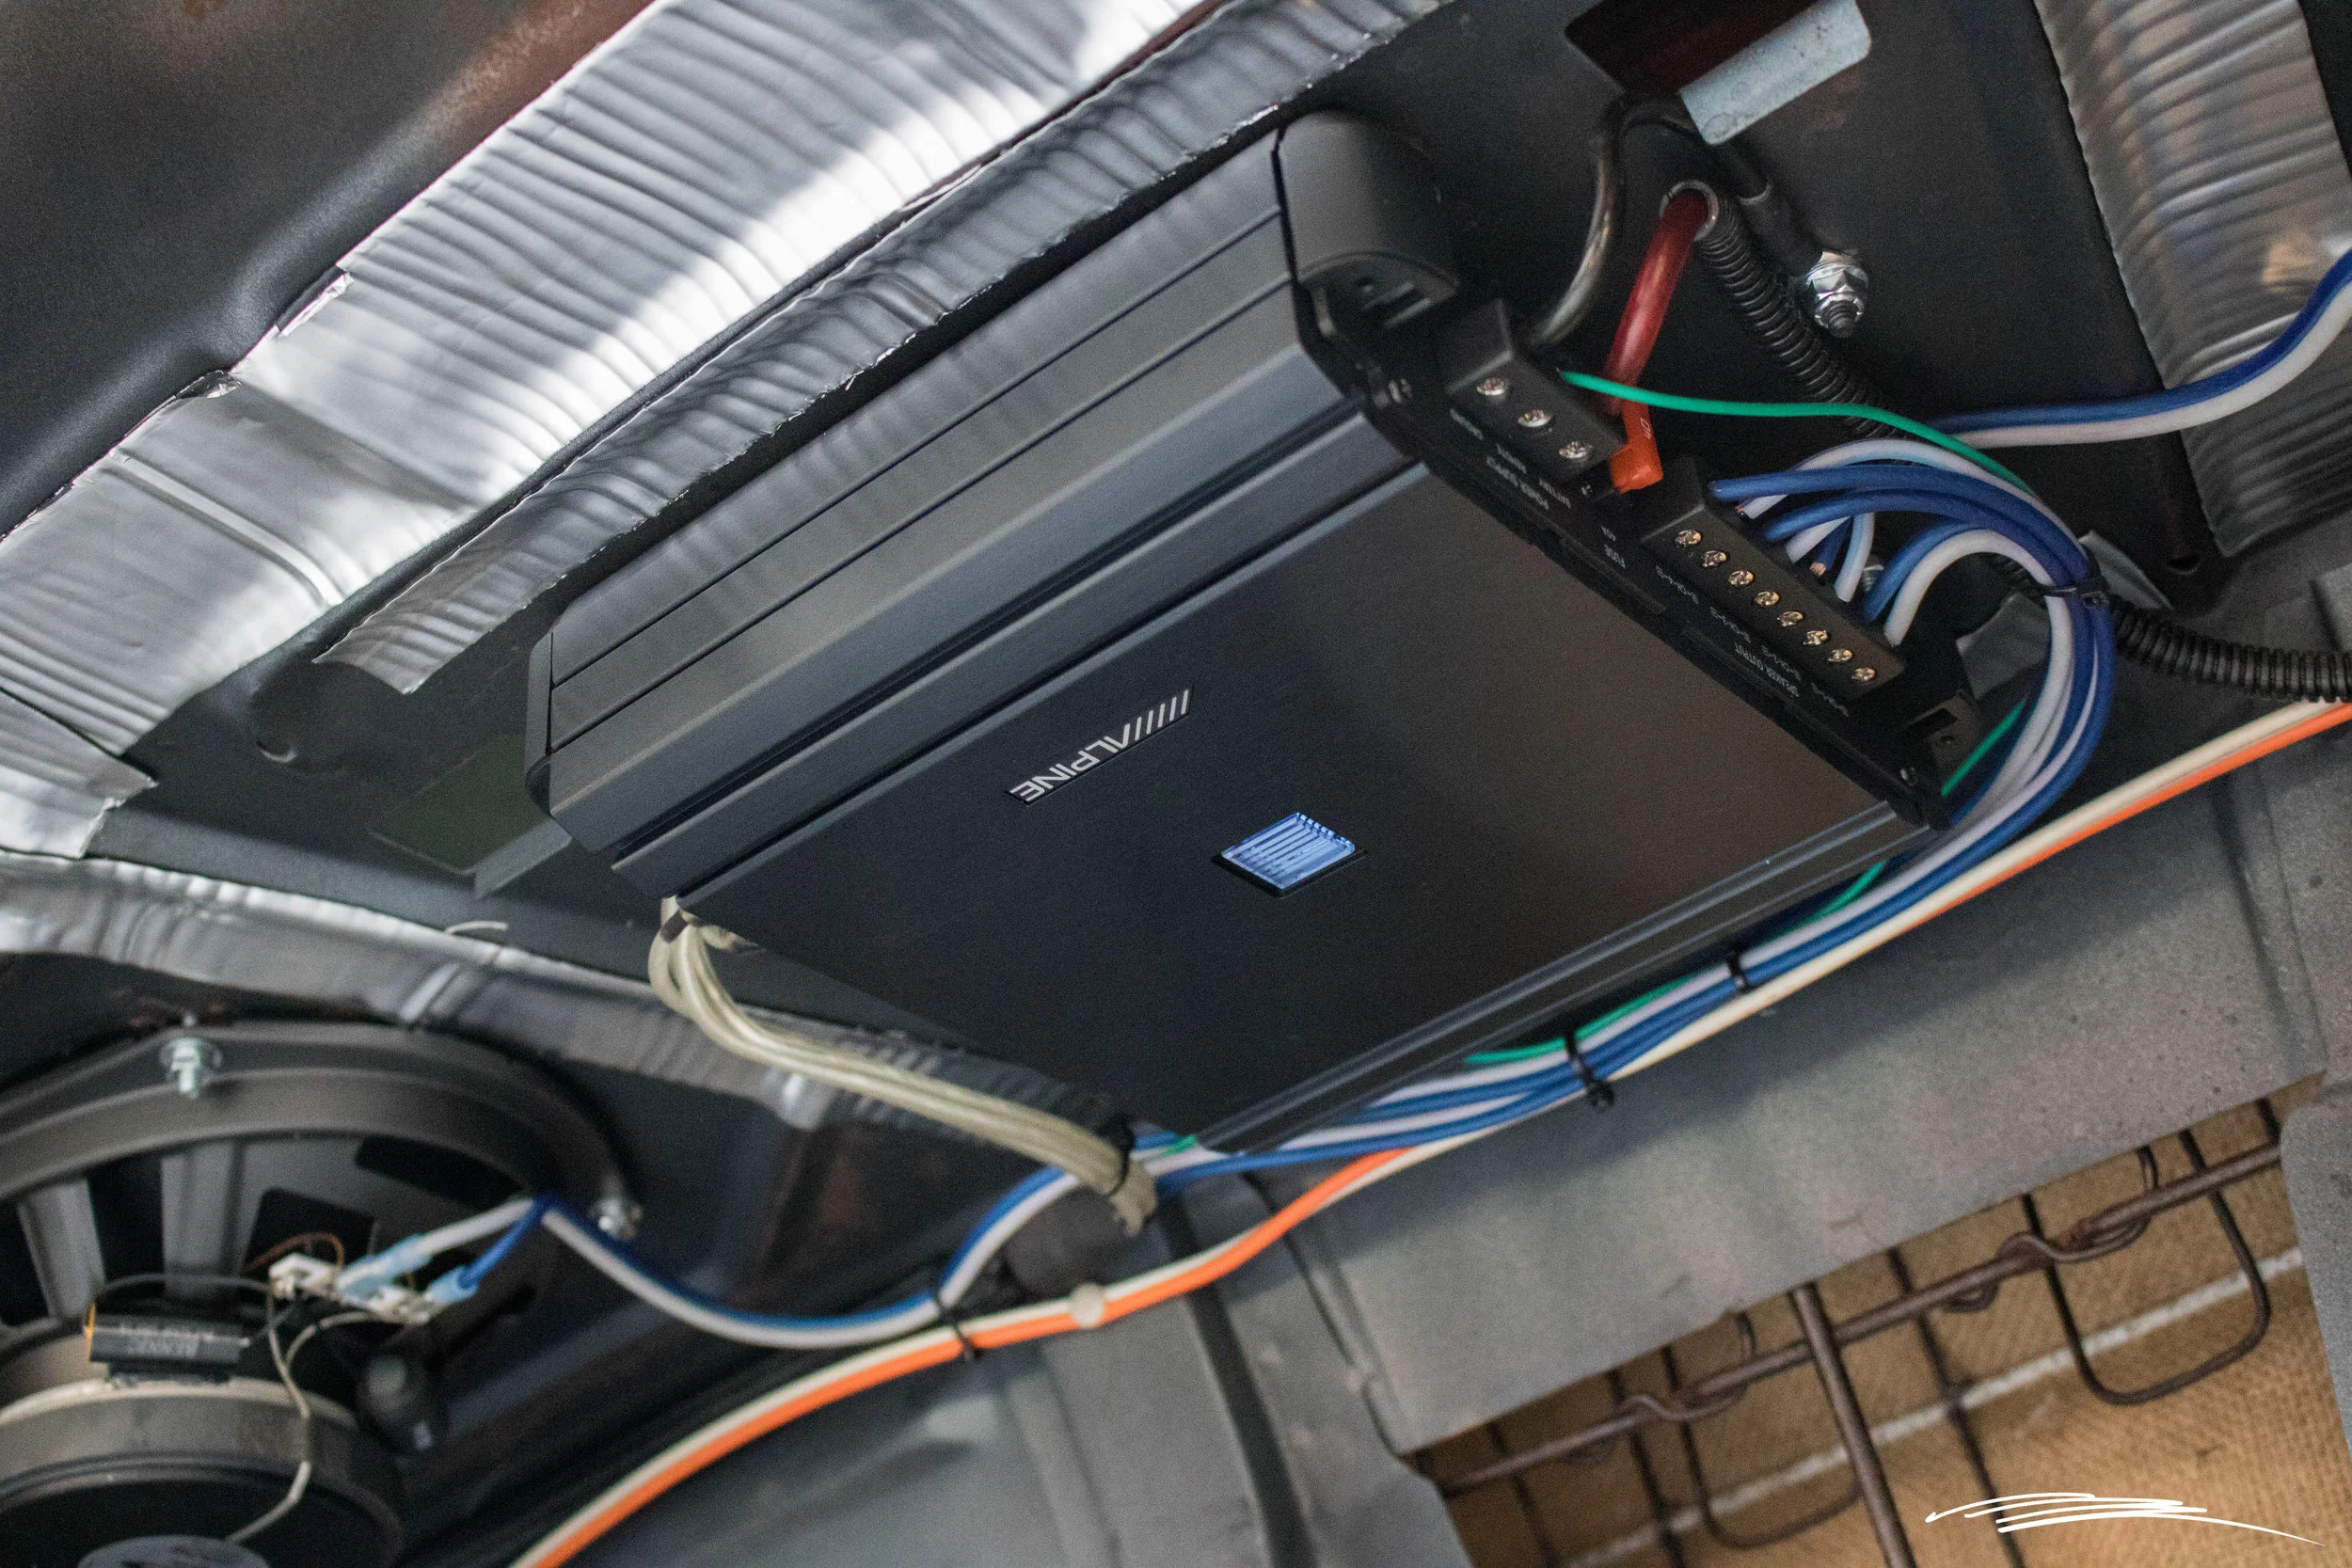
One thing I did miss however was the amp. Trent stood there with a devilish grin and said, “I mounted your amp too.” It took me a few minutes of walking around looking at the car to see that he hid the amp under the package tray in a very discrete manner. These are the little details I love that Trent does.
The amp we used is the Alpine MRV-F300.
12/8/18: The carpet is in, wiring done, and tunes are a blazin’! After running the wiring, modifying the Shop LLC kick panels, and radio bezel we can now call the sound system complete. The only thing missing is the rear package tray, which we will cover at a later date.


I chose the Alpine CDE-172BT receiver because it was the bare minimum that suited my needs at the moment. I ended up purchasing a blank radio bezel panel from Camaro Central that we cut for optimal radio placement.

This is my first ‘project’ car that I’ve owned that has a working stereo, and a good one I might add. Thank you Trent for all of your hard work. This thing rocks!