SS TO RS FRONT CONVERSION (CAMARO CENTRAL)
Rather than doing a mash up of various progress within one post, I chose to break them up in categories (sound system, front end conversion, engine etc.) I’m hoping this layout will keep things a bit more organized for the viewers and followers of this process.
Saturday: 10/27/18 I popped in over to Trent Musser’s to check on the progress of the car. It really pays to live only 4min from the guy building your car haha. For those that haven't viewed the other posts; Trent is a good friend of mine and is a wealth of knowledge in the automotive department. Trent’s finish work, wiring, and attention to detail is hard to compete with and that is why I chose him to perform this desired work to get my Camaro back on the road. Ok back to the story…Trent asked me to bring the RS front end conversion (purchased from Camaro Central) so he could start mapping things out being that he has never installed one.

First thing was first; OUT WITH THE OLD! Forgive me, but I didn’t have my DSLR camera this day so I had to shoot on my iPhone.

The disassembly is fairly straight forward, and isn’t difficult. We removed the grille + upper and lower moldings, lower valence, lights, and bumper. Originally I was going to keep the 67’ front valance, but then decided to go with the 68’ so we could convert the parking lights to parking/turn signals.
Monday: 10/29/18 With every car that has been passed around over the years, you’re bound to find some interesting things…like…this car had a 68 passenger side fender so we only had to weld in one of the fender brackets supplied in the Camaro Central RS conversion kit.


Supplied in the instructions for this kit, is a template. This template is used to drill holes to fit the actuator and its components for the now electric, hideaway headlights. Here are the panels AFTER the drilling.


Right before I left Trent’s for the night, I noticed the new headlight covers chillin’ on his shelf. I instantly pictured my car in its finished state looking mean as ever with the classic black OE front setup. I know most of you are against conversions, and that’s ok…I’ve loved this front end for a long time and I knew if I had got my hands on this car, that it would need to have it. I took this quick snap shot just because it felt like the thing to do. This conversion is coming along nicely.

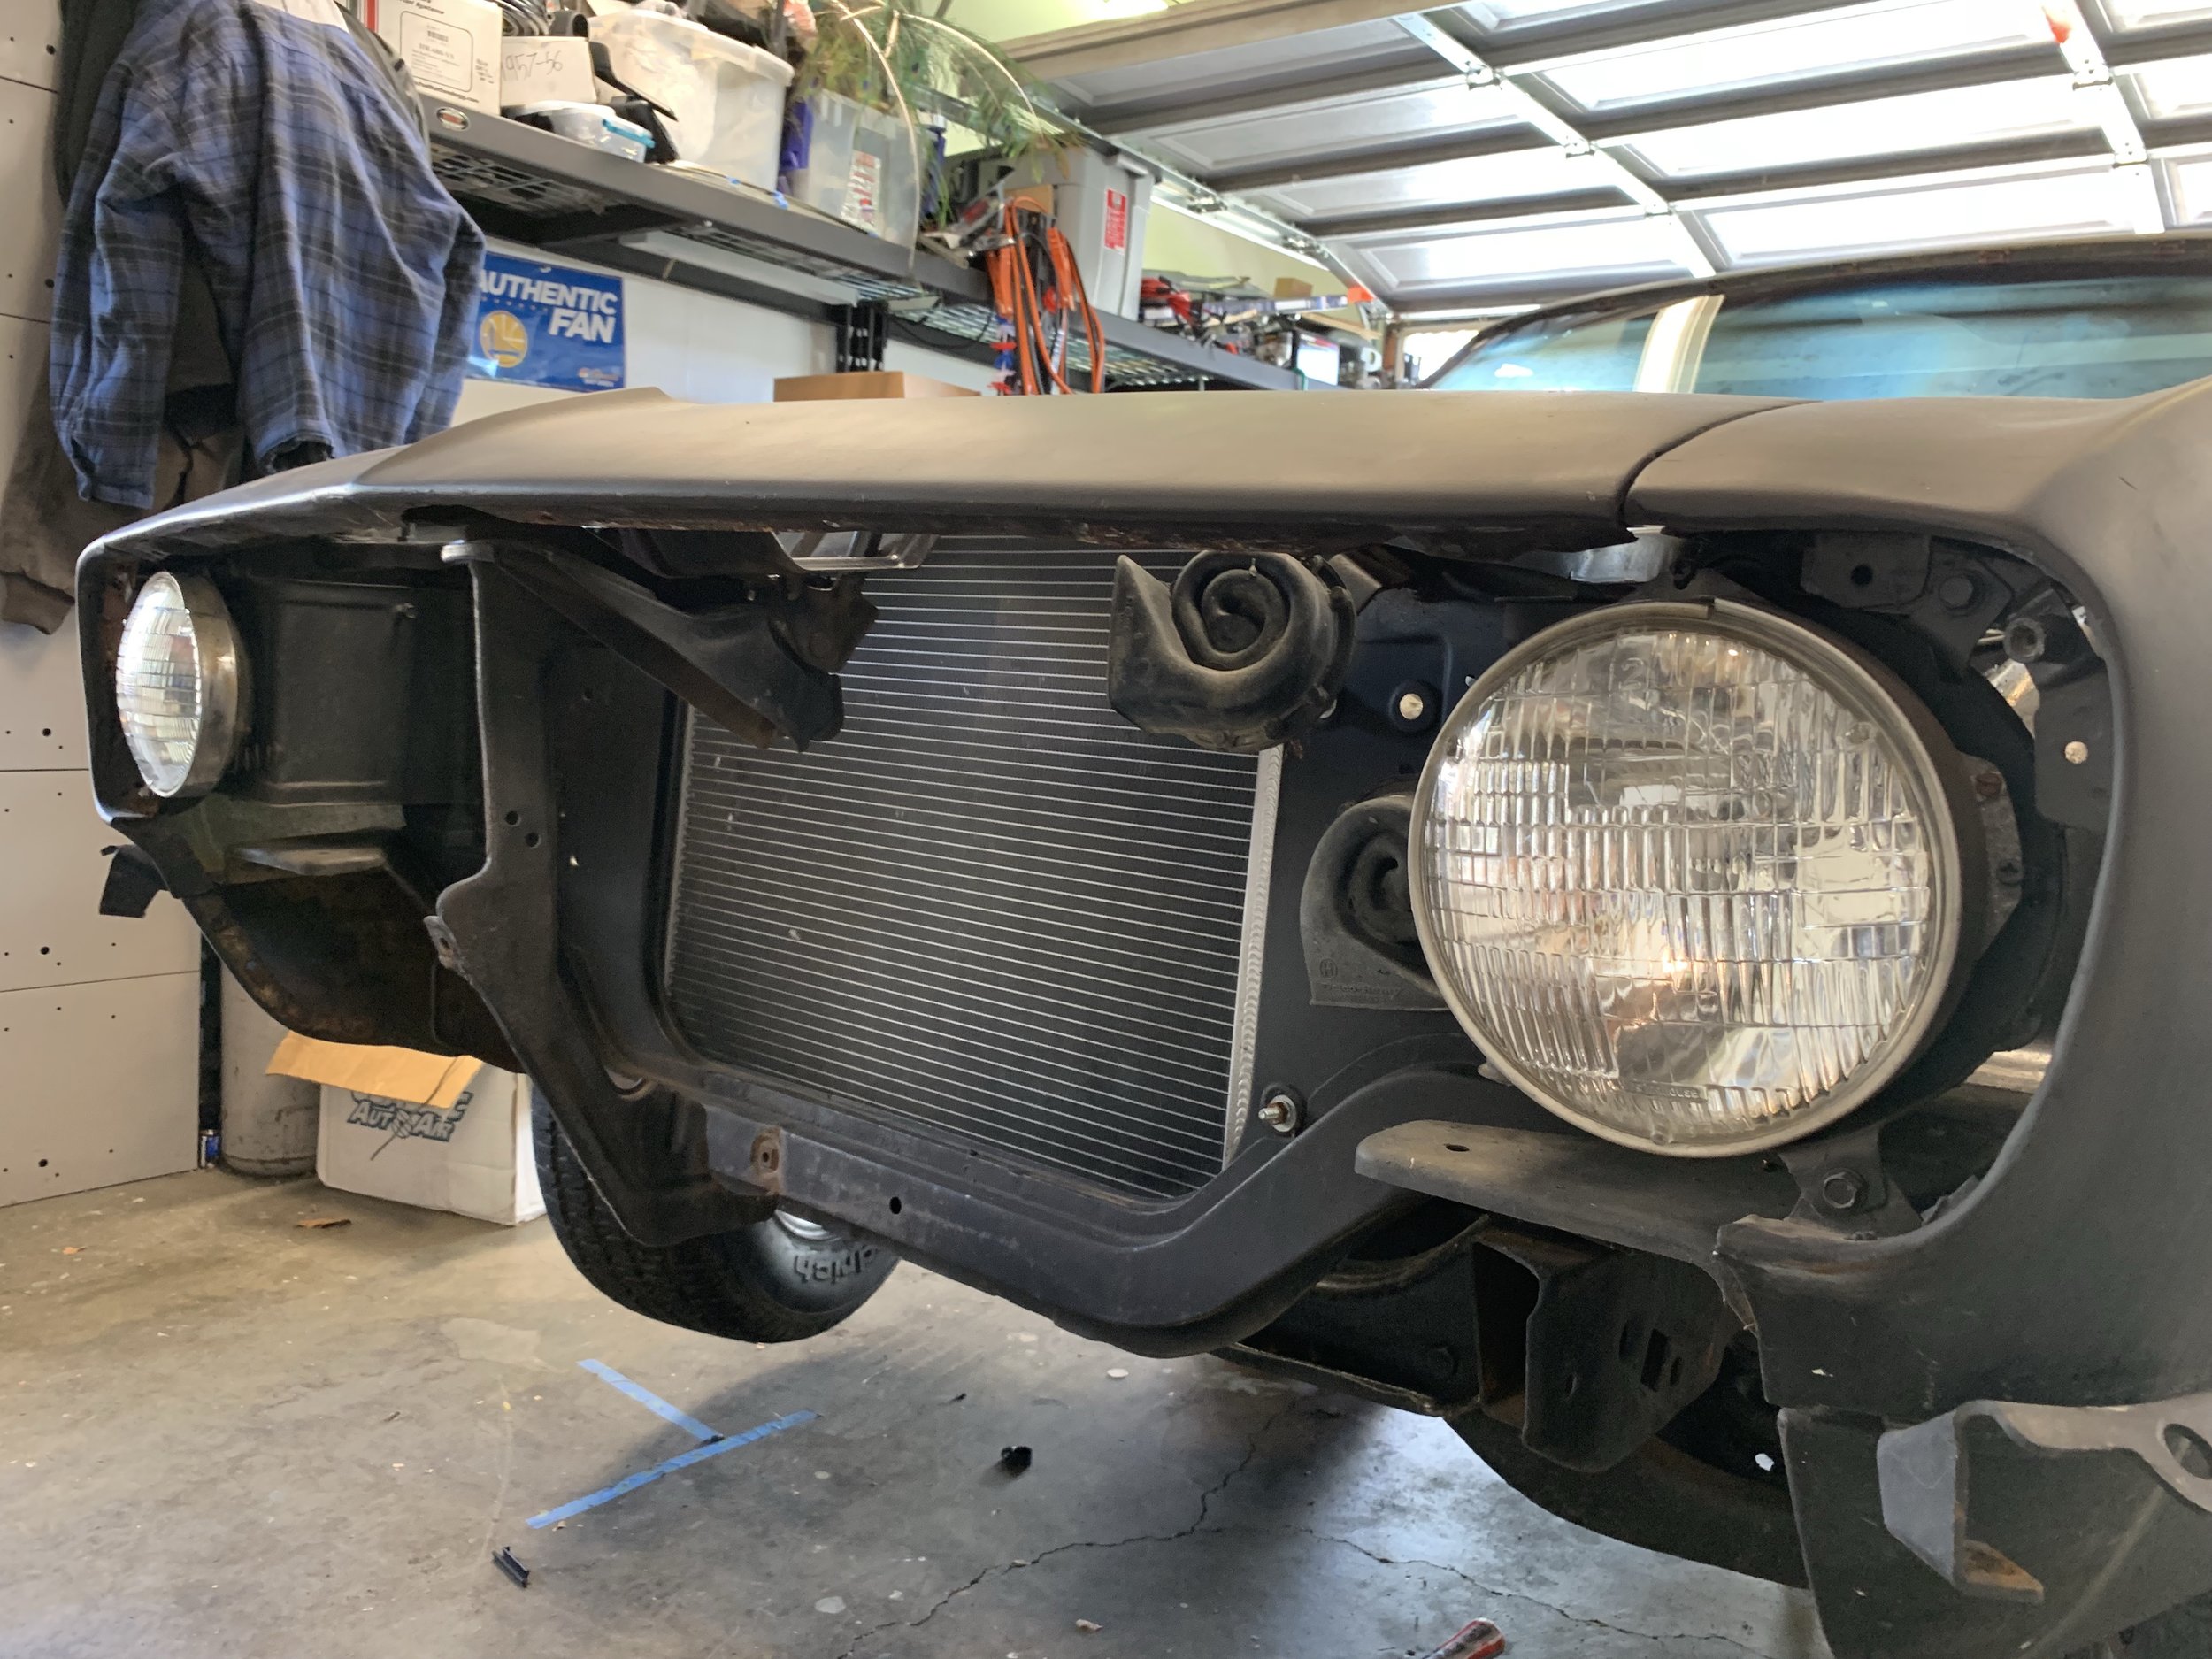
Thursday: 11/8/18 Well I just came back from a vacation to Tennessee, and while I was gone; Trent sent me these photos of the RS conversion installed along with the 68’ lower valance.


Now before you get all excited…this was not the finished install. If you ask anyone who has installed one of these kits, then they will tell you that the kit will take some adjustments. A little tweak here, enlarging hole there, pressure push here etc. The driver-side went fairly smooth, but the passenger side was another story; it looked as if it had a lazy eye. We knew that this would not be alright because if the headlight unit was crooked and the door opened when the lights were turned on then it would probably end up destroying itself after hitting the grill assembly.
After many hours of fine tuning, aligning, and trouble shooting; the RS conversion was completed and is my favorite piece of the car!
